ubuntu16 のサポートの終わりを見据えて、web サーバー(zairyo)を ubuntu20 に更新したいと思います。wordpress を移動させないといけません。順に、作業を記録します。
apacheインストール
sudo apt install apache2phpのインストール
sudo apt install phpphpinfoコマンドを試す。libapache2-mod-phpがインストールされたようだ。
<?php
phpinfo();
?>
if config の代わり
ip address showupload ファイルサイズの変更。/etc/php/7.4/apache2/php.ini の編集。apache の再起動。
post_max_size = 大きな値
upload_max_filesize = 大きな値
mysql のインストール(参考サイト)。
sudo apt install mysql-servermysql_secure_installation の実行。この辺が以前と異なる。
$ sudo mysql_secure_installation

Securing the MySQL server deployment.

Connecting to MySQL using a blank password.

VALIDATE PASSWORD COMPONENT can be used to test passwords
and improve security. It checks the strength of password
and allows the users to set only those passwords which are
secure enough. Would you like to setup VALIDATE PASSWORD component?

Press y|Y for Yes, any other key for No: y

There are three levels of password validation policy:

LOW    Length >= 8
MEDIUM Length >= 8, numeric, mixed case, and special characters
STRONG Length >= 8, numeric, mixed case, special characters and dictionary                  file

Please enter 0 = LOW, 1 = MEDIUM and 2 = STRONG: 2
Please set the password for root here.

New password:

Re-enter new password:

Estimated strength of the password: 100
Do you wish to continue with the password provided?(Press y|Y for Yes, any other key for No) : y
By default, a MySQL installation has an anonymous user,
allowing anyone to log into MySQL without having to have
a user account created for them. This is intended only for
testing, and to make the installation go a bit smoother.
You should remove them before moving into a production
environment.

Remove anonymous users? (Press y|Y for Yes, any other key for No) : y
Success.


Normally, root should only be allowed to connect from
'localhost'. This ensures that someone cannot guess at
the root password from the network.

Disallow root login remotely? (Press y|Y for Yes, any other key for No) : no

 ... skipping.
By default, MySQL comes with a database named 'test' that
anyone can access. This is also intended only for testing,
and should be removed before moving into a production
environment.


Remove test database and access to it? (Press y|Y for Yes, any other key for No) : y
 - Dropping test database...
Success.

 - Removing privileges on test database...
Success.

Reloading the privilege tables will ensure that all changes
made so far will take effect immediately.

Reload privilege tables now? (Press y|Y for Yes, any other key for No) : y
Success.

All done!
クライアントの方も入れた。
sudo apt install mysql-clientこの直後に mysql を root ユーザーで利用するためには、sudo で 起動する必要がある。一般ユーザーでは root ユーザーのパスワードが通らない。ubuntu のログインユーザーと mysql へのログインユーザーを一致させる必要があるらしい。
$ mysql -u root -p
Enter password:
ERROR 1698 (28000): Access denied for user 'root'@'localhost'
$ sudo mysql -u root -p
Enter password:
Welcome to the MySQL monitor.  Commands end with ; or \g.
Your MySQL connection id is 11
Server version: 8.0.22-0ubuntu0.20.04.2 (Ubuntu)

Copyright (c) 2000, 2020, Oracle and/or its affiliates. All rights reserved.

Oracle is a registered trademark of Oracle Corporation and/or its
affiliates. Other names may be trademarks of their respective
owners.

Type 'help;' or '\h' for help. Type '\c' to clear the current input statement.

mysql>
phpmyadmin を root で利用するなら、認証を mysql_native_password にする必要はありそうだ。phpmyadmin は www-data という名のユーザーとして実行される。デフォルトの設定で phpmyadmin を利用するなら,mysql 上に www-data という名のユーザーを作成しないといけないと思う。認証を古いタイプに戻せば,この不一致は許容される。以降、かなりの試行錯誤。
mysql> use mysql
No connection. Trying to reconnect...
Connection id:    12
Current database: *** NONE ***

Reading table information for completion of table and column names
You can turn off this feature to get a quicker startup with -A

Database changed
mysql> update user set plugin='mysql_native_password' where User='root';
Query OK, 1 row affected (0.05 sec)
Rows matched: 1  Changed: 1  Warnings: 0
この状態で、通常のログインをしようとしたが、ログインはできなかった。しかしパスワード無しのログインが可能であった。これは、このようなものなのか?
$ mysql -u root -p
Enter password:
ERROR 1045 (28000): Access denied for user 'root'@'localhost' (using password: YES)
$ sudo mysql -u root -p
[sudo] friend のパスワード:
Enter password:
ERROR 1045 (28000): Access denied for user 'root'@'localhost' (using password: YES)
$ mysql -u root
Welcome to the MySQL monitor.  Commands end with ; or \g.
Your MySQL connection id is 15
Server version: 8.0.22-0ubuntu0.20.04.2 (Ubuntu)

Copyright (c) 2000, 2020, Oracle and/or its affiliates. All rights reserved.

Oracle is a registered trademark of Oracle Corporation and/or its
affiliates. Other names may be trademarks of their respective
owners.

Type 'help;' or '\h' for help. Type '\c' to clear the current input statement.

mysql>
パスワードの設定をした。以前とは異なるコマンドである。
mysql> use mysql
Reading table information for completion of table and column names
You can turn off this feature to get a quicker startup with -A

Database changed
mysql> ALTER USER 'root'@'localhost' IDENTIFIED BY 'xxxxxxxx';
Query OK, 0 rows affected (0.00 sec)

mysql>
この後なら、古い感じのログインが可能だ。パスワードなしのログインはできなくなっている。
$ mysql -u root
ERROR 1045 (28000): Access denied for user 'root'@'localhost' (using password: NO)
$ mysql -u root -p
Enter password:
Welcome to the MySQL monitor.  Commands end with ; or \g.
Your MySQL connection id is 17
Server version: 8.0.22-0ubuntu0.20.04.2 (Ubuntu)

Copyright (c) 2000, 2020, Oracle and/or its affiliates. All rights reserved.

Oracle is a registered trademark of Oracle Corporation and/or its
affiliates. Other names may be trademarks of their respective
owners.

Type 'help;' or '\h' for help. Type '\c' to clear the current input statement.

mysql>
phpmyadmin のインストール。
$ sudo apt install phpmyadmin無事ページを開くことができた。
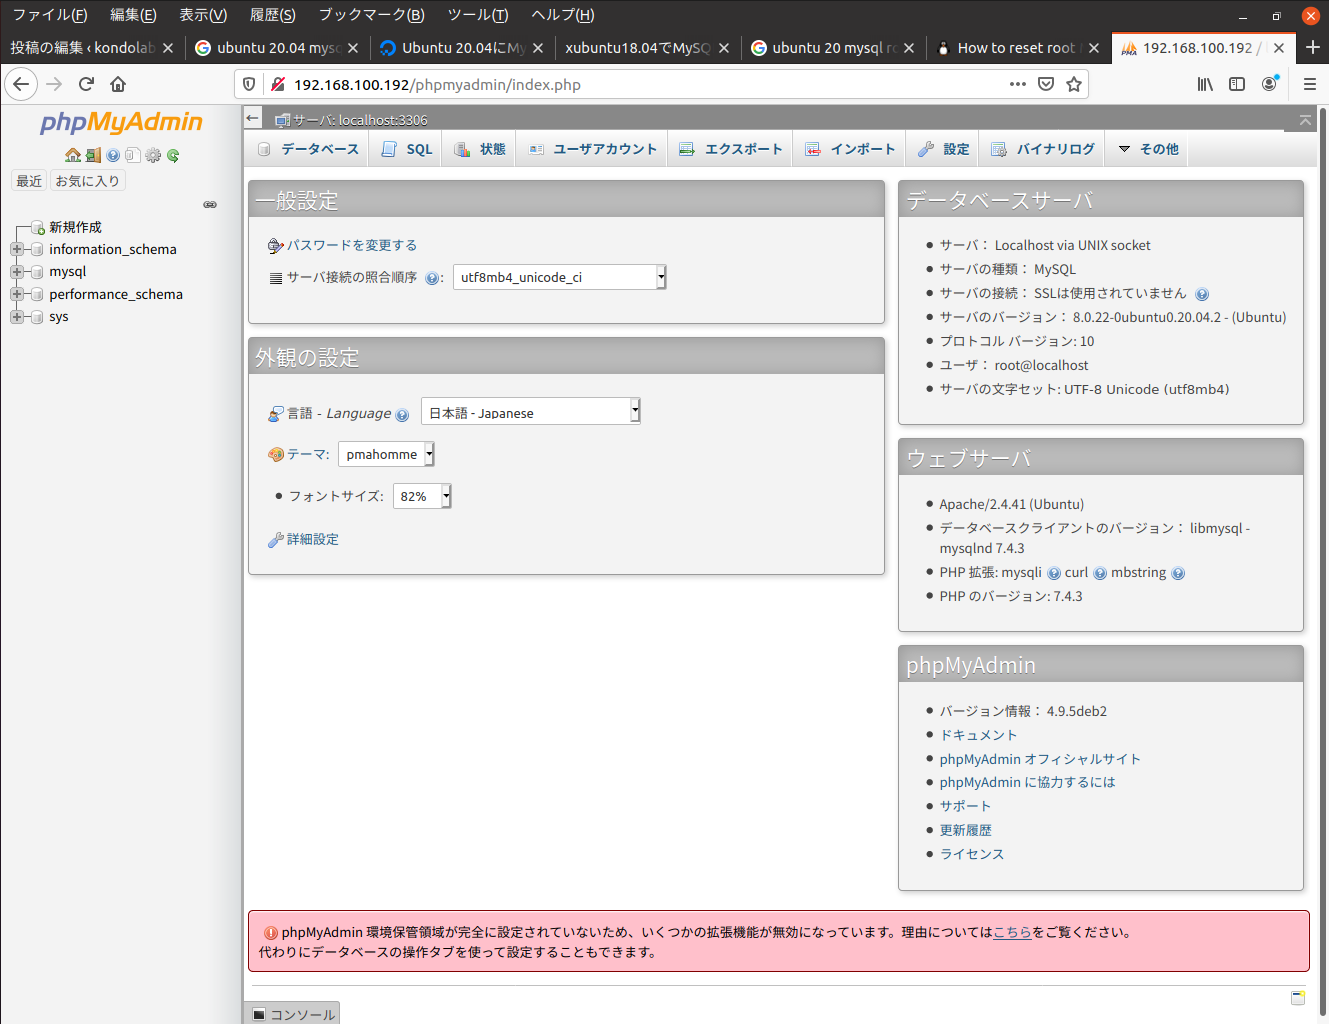
phpmyadminの処理時間を延ばす。設定を変更していなければ、実行時間が300秒に設定(制限)されている。以前と同じようにやってみた。
/usr/share/phpmyadmin/libraries/config.default.php の 709 行に次の設定項目がある。任意の数値に変更する。デフォルトは 300 であるが,今回は 7200 にしてみた。
$cfg[‘ExecTimeLimit’] = 300; phpmyadmin で wordpress 用のユーザーを追加する。パスワード設定にとまどる。特殊文字を含めないといけなかった。しかし他に phpmyadmin に起因するトラブルは生じてはいないようだ。このユーザーもネイティブMySQL認証を選択する。
wordpress のファイルをダウンロードし,/var/www/ 内で解凍する。
一旦、/var/www/html/wordpress フォルダーの全権限を www-data に与える。
sudo chown -R www-data ./wordpress公式サイト?に従って、/wordpress/wp-admin/install.php をブラウザで開く。
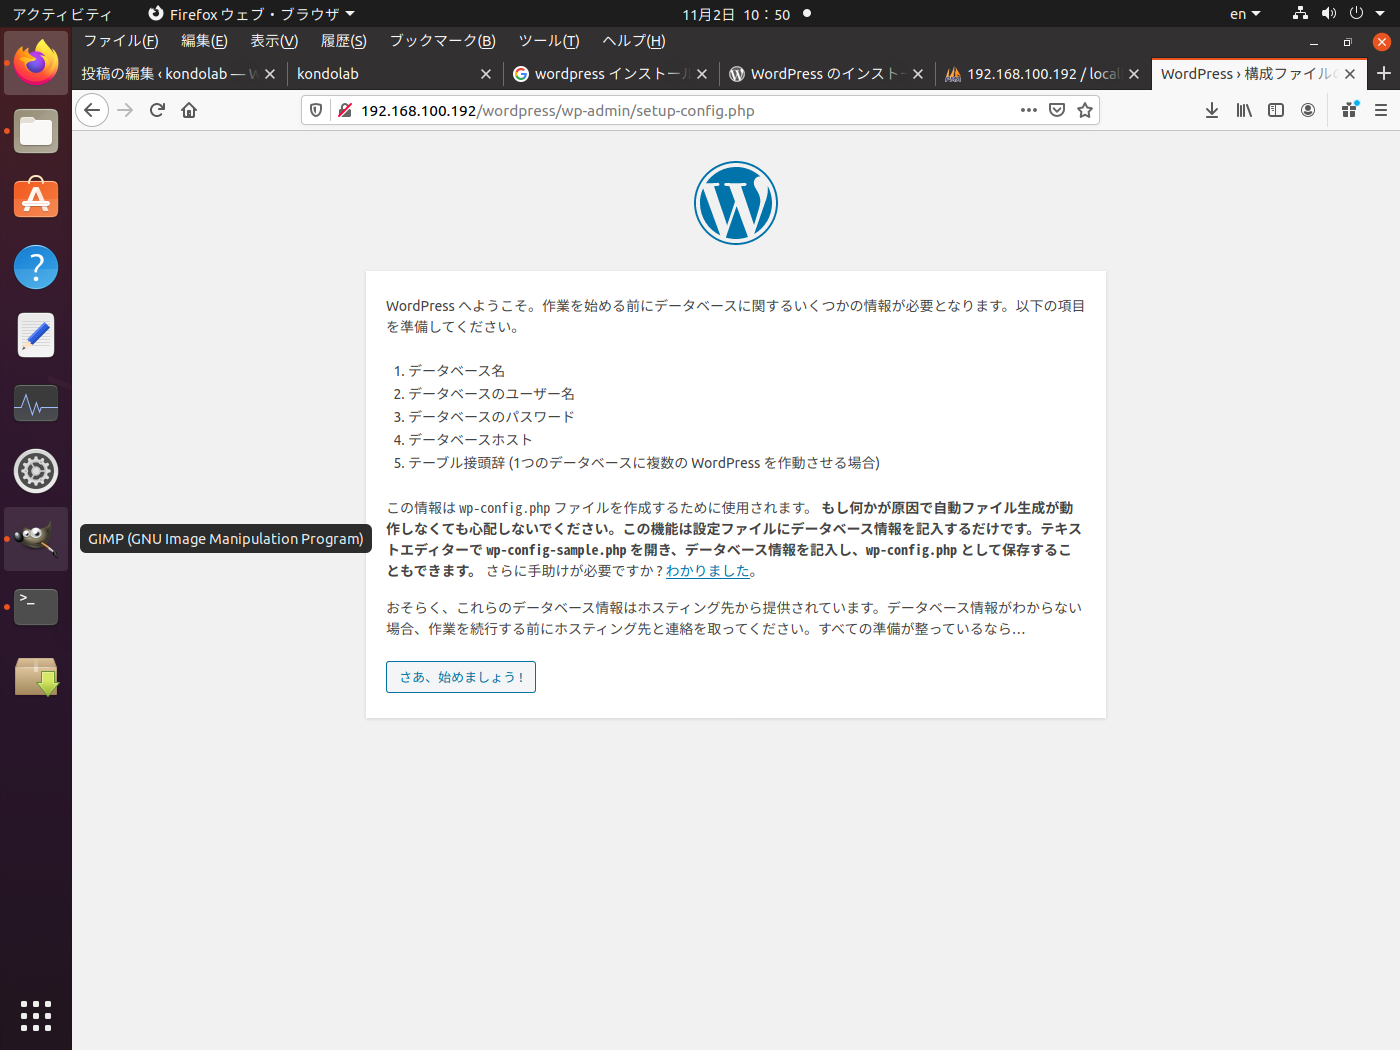
なんとか,wordpress のインストール方法は分かった。いつもだとあれが足りないとかインストール途中で言われるが,今回は特に何もなかった。
phpmyadmin へのアクセス制限を付ける。/etc/phpmyadmin/apache.conf にある /usr/share/phpmyadmin/ に対する記述に下記の内容を加える。
<Directory /usr/share/phpmyadmin>

省略

Order Deny,Allow
Deny from All
allow from 秘密です

省略

</Directory>
apache のアクセス制限を付ける。/etc/apache2/sites-enabled/000-default.conf を修正します。以前のものは下記のような感じなのですが, phpmyadmin の設定が重複していた。wordpress のログイン許可の記述も重複しているようです。しかしまあ,アクセス拒否のサイトが増えました。
	<Directory /var/www/html/>
		Options FollowSymLinks MultiViews
		AllowOverride All
		Order allow,deny
		allow from all
		Deny from 99.192.223.130
途中省略 .........................
		Deny from 213.217.0.224
	</Directory>


	<Directory /var/www/html/wordpress/wp-admin/>
		Order deny,allow
		deny from all
		allow from 秘密です
	</Directory>

	<Directory /usr/share/phpmyadmin/>
		Order deny,allow
		deny from all
		allow from 秘密です
	</Directory>

    <Files ~ "wp-login.php*$">
		Order deny,allow
		deny from all
		allow from xxx.xxx.xxx.xxx (適当なIPを指定する)
	</Files>
apache でファイルリストが表示されるのを禁止する。これは先ほどの apache に関する設定ですでに完了していた。
wordpress を移す
卒業などでいなくなった OB のパスワードが分からないが,これを phpmyadmin を使って直接書き換えた。変更は MD5 のハッシュで良かった。このサイトの記事を引用する。
パスワードがソルト化されている場合、つまり例えば $P$BLDJMdyBwegaCLE0GeDiGtC/mqXLzB0 のように見える場合でも、パスワードを MD5 ハッシュに置き換えて WordPress でログインできるようになることに注意してください。コンテンツを移す前に,元の WEB サーバーで,wordpress のバージョンを 5.3にあげる。先にバージョンを上げた後の移動の方がスムーズかと思う。これには,まず wp-content フォルダーと wp-config.php 以外のファイルを 5.3 のものと入れかえ,wordpress にログインすると,データーベースを更新するように促され自動的に 5.3 に適応した内容になる。これを phpmyadmin から書き出しておく。
元のコンテンツ(/var/www/html の中身)は tar で固める。そうすれば所有権等のプロパティーを維持できる(参考サイト)。圧縮と解凍のコマンドを下記に記録する。解凍のみが sudo である。
tar zcvf wordpress.tar.gz ./wordpress/
sudo tar zxvf wordpress.tar.gz
この後,コンテンツの tar ファイルを,新しいサーバーで解凍し,データベースも phpmyadmin を使って,新しいサーバー上で復元する。そうすれば新しいサーバーに wordpress の新規インストールをしなくても,元のブログが再現される。
作業している環境と実際の環境が色々異なるので,設置した際に apache のアクセス制限の変更が必要になった。例えば作業中は 192.168.100.xxx からのログインを許可するが,設置した後は必要なくなる。
この辺で一応の完成。新しいエディターに慣れません。
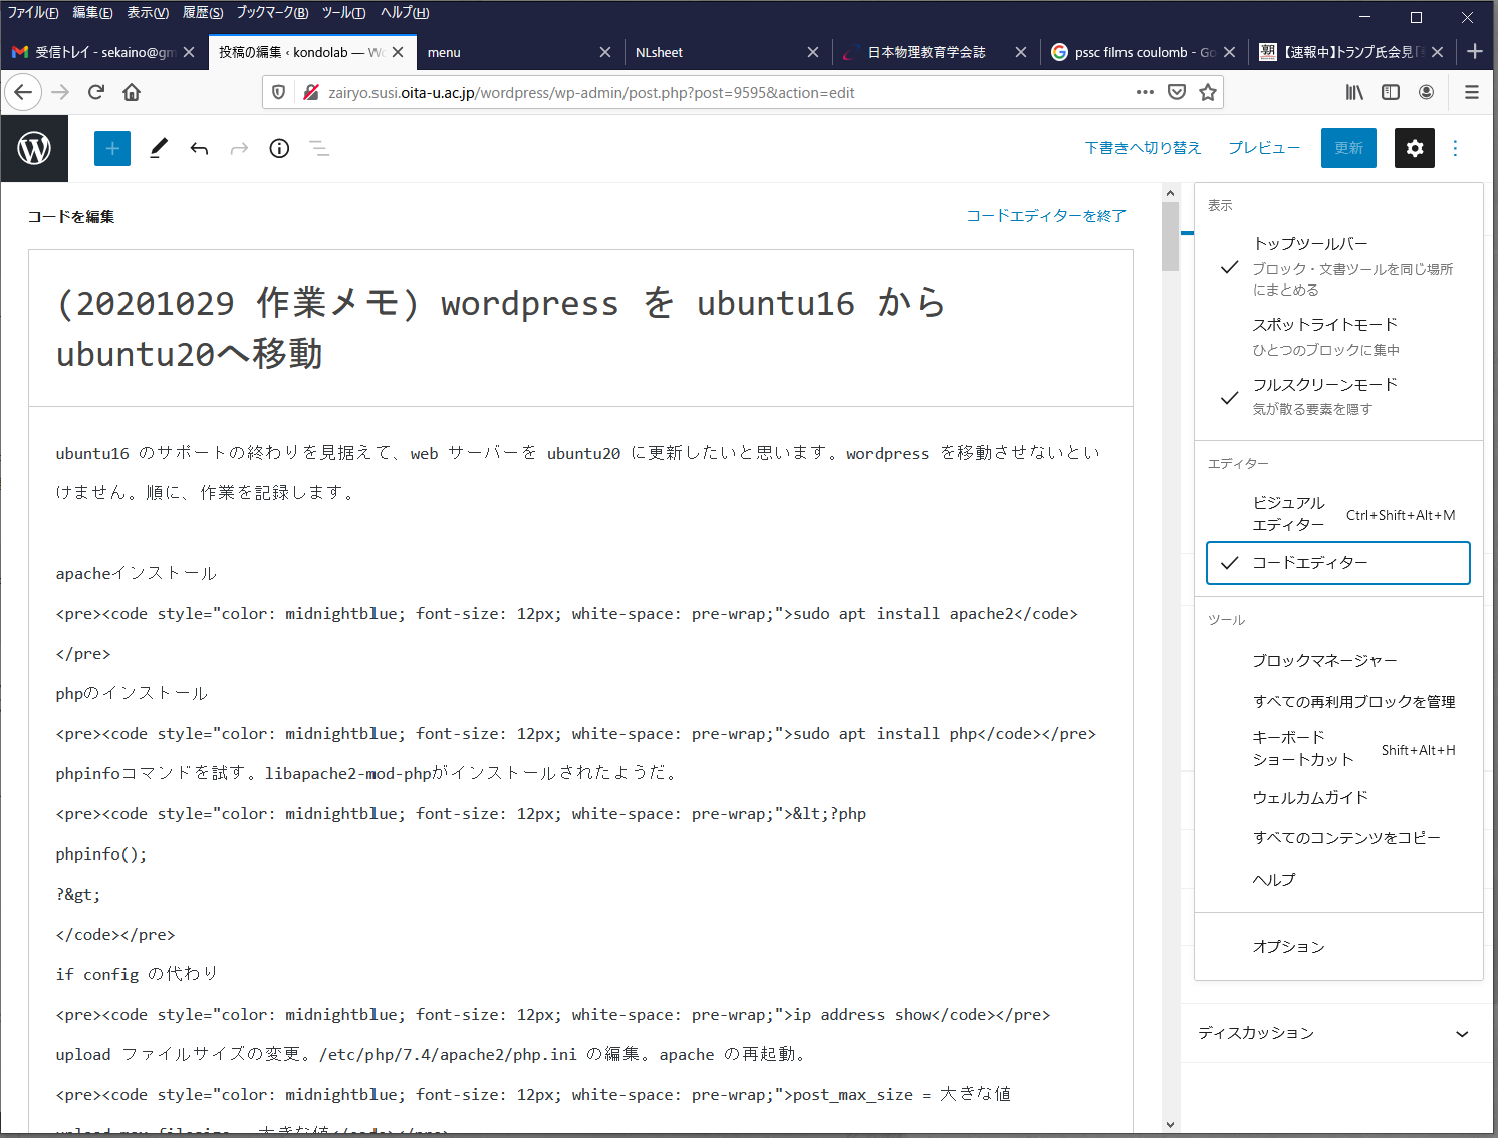
(20241031)
apache のバージョンを返さないように設定を変更する。/etc/apache2/conf-available/security.conf において
ServerTokens Prod
ServerSignature Off
上記へ変更する。
(20260612)
zairyo でユーザーログインを使いたいという要望があって,ツールを kanaike から移した。やったことを列挙する。
- データベースファイルの移動:利用者を列挙したデータ
- アカウント操作用のツールを移動
- phpseclib を synaptic からインストール
- 暗号対を書いたファイルを移動:あらかじめ作成された公開鍵秘密鍵のペアのファイル
こんなところだったか。あとは html を挟み込む PHP ファイルを用意したぐらいかな。